How to Build an Ikea Greenhouse Cabinet & Why You Should Have One
Converting an IKEA cabinet into a greenhouse cabinet is one of the best decisions I made for my houseplants. I’m sharing why I decided to build one, how to do it and how it helped my collection of houseplants.
Why Build an Ikea Greenhouse Cabinet?
Here are the reasons why I decided to convert an Ikea cabinet into a greenhouse cabinet:
Stable growing environment
I have a big collection of tropical houseplants. Since I live in a four-season country, the temperature and humidity levels inside our house varies throughout the year. Placing my houseplants inside a greenhouse provided them a stable environment in terms of temperature and humidity levels.
Keep toxic houseplants away from pets

I also use my greenhouse cabinets to keep my highly toxic houseplants away from my cat. My cat has a habit of taking a little bite from every new plant she sees. For the moderately toxic plants she tried, she would spit the leaf once she realize it’s not good and she would leave the plant alone. But I don’t take any chance for my highly toxic plants; a little bite can send my cat into paralysis or intoxication. I keep these plants inside my Ikea greenhouse cabinet.
Grow cuttings and seedlings
Since a greenhouse cabinet can provide optimum conditions for growing plants, it is ideal to grow baby plants inside the cabinet. They develop roots and leaves faster than leaving them outside.
Materials Needed to Build an Ikea Greenhouse Cabinet:
- An IKEA cabinet (I used a wide Fabrikor cabinet)
- Shelving or plant trays, magnetic backdrop
- Humidity tray or shallow dish (to maintain humidity)
- Thermometer and hygrometer (to monitor temperature and humidity)
- small computer fan
- light
- weatherproofing tape
- Tools (screwdriver, drill, etc.)
Steps to Convert the Cabinet:

Choose the Right Cabinet:
Select an IKEA cabinet that fits your space and has enough height for your plants. Typical choices are Fabrikor, Milsbo and Rudsta models. I chose a Fabrikor wide because it was on sale and the size is just right for the spot in our house where I planned to put it.
Prepare the Cabinet:
Remove any existing shelves if necessary and clean the interior. I removed the glass shelves that came with the cabinet because I want to use a custom-made shelving with holes for air circulation.
Install weatherproofing tape to ensure humidity doesn’t escape. Caulking around the edges using silicone is also recommended. I wiped the surfaces with rubbing alcohol before lining up the edges with silicone caulking and weatherproofing tape to make sure they would stick.
Install Shelving:
If the cabinet you chose doesn’t have adjustable shelves, consider adding removable shelves or plant trays to create different levels for your plants. Ensure that the shelving is sturdy enough to support the weight of the pots and soil. It’s best to use shelves with holes so air can circulate more efficiently inside the cabinet.
I got my shelves second-hand from Facebook marketplace. It’s a custom-made shelving unit made for a Fabrikor cabinet. I like that the backdrop fits Ikea pegs for additional accessories I can hang.
Add Grow Lights:
Install grow lights inside the cabinet to provide adequate lighting for your plants. Depending on the cabinet size, you may use strip lights, LED panels, or hanging grow lights. Make sure the lights are positioned to cover all plants adequately. Consider using a timer for the lights to automate the light cycle (typically 12-16 hours of light per day for most houseplants).
I used Barrina grow lights for my cabinet. I hung it using these magnets. I plugged the light into a smart plug I could connect to my Alexa app. Through this way, I can set an automatic timer every day for the lights.
Enhance Humidity:
Place a humidity tray filled with water at the bottom of the cabinet to help maintain moisture levels. You can also mist the plants regularly or use a small humidifier if necessary.
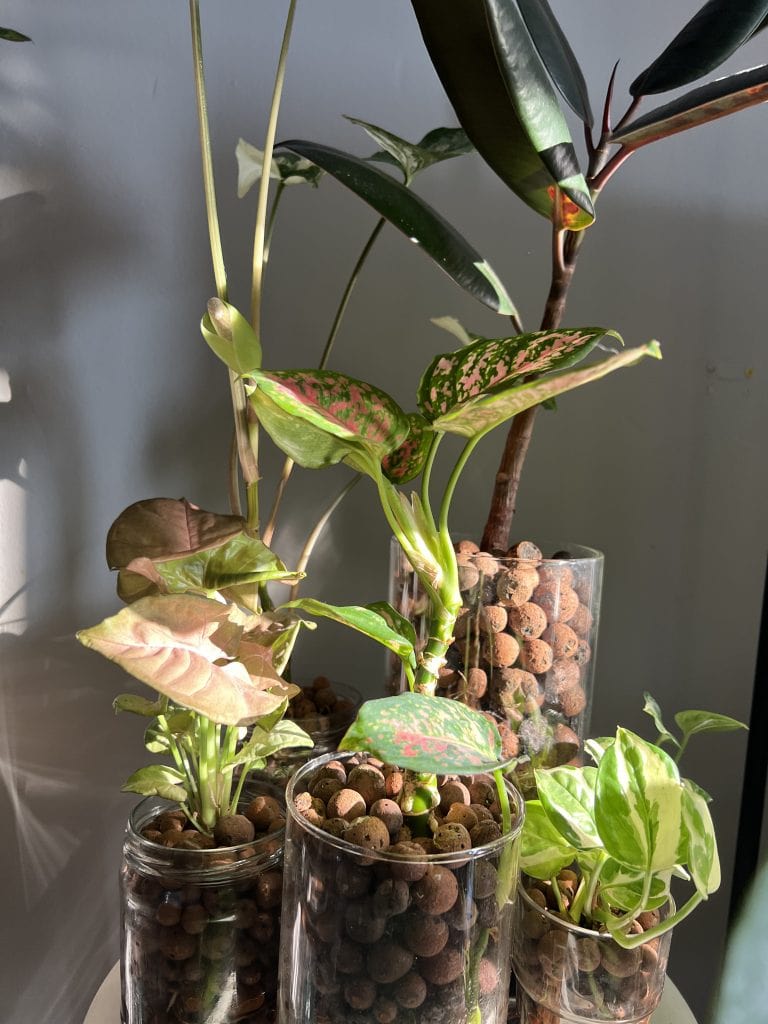
Since I’m using leca balls for all of my houseplants, I didn’t need to add anything to increase the humidity inside the cabinet. The evaporation of water from the pot of leca balls are enough to maintain up to 80% of humidity inside the cabinet.
Ventilation:

Ensure good airflow within the cabinet to prevent mold and mildew. You can achieve this by installing small fans inside.
I installed two small fans inside my cabinet and plugged them into a smart plug as well. The little wind the fans produce is similar to outdoor conditions and I never had any problem with molds and mildew.
Monitor Conditions:

Use a thermometer and hygrometer to monitor the temperature and humidity levels inside the cabinet. Most houseplants thrive in humidity levels of 40-80% and temperatures between 65°F and 75°F (18°C to 24°C).
Watering and Maintenance:
Regularly check the moisture levels in the soil and the humidity tray. Adjust watering and misting as needed based on the plants’ requirements.